Glide Note

glidenote's blog

Let’s Encryptで証明書を作ってみた

社内向けのリバースプロキシを構築中に、まだ証明書を用意していないドメインで、Let’s Encryptを試す機会があったのでメモ。

去年アメリカに行ったタイミングから完全にブログ書く習慣がなくなってしまったので、リハビリも兼ねて。

前提

  • Port 80が空いている。外部からアクセスできる。
  • DNSが引けて、名前解決ができるようになっている

作業環境

  • CentOS 7.0, Amazon Linux
  • Nginx 1.9.10

Let’s Encryptのインストール

1
2
3
git clone https://github.com/letsencrypt/letsencrypt
cd letsencrypt/
./letsencrypt-auto --help --debug

./letsencrypt-auto --help --debug のタイミングで依存パッケージがインストールされる。 無事インストールが完了するとヘルプが表示される。

1
2
3
4
5
6
7
8
9
10
11
12
13
14
15
16
17
18
19
20
21
22
23
24
25
26
27
28
29
30
31
32
33
34
35
Updating letsencrypt and virtual environment dependencies......
Requesting root privileges to run with virtualenv: /root/.local/share/letsencrypt/bin/letsencrypt --help

  letsencrypt-auto [SUBCOMMAND] [options] [-d domain] [-d domain] ...

The Let's Encrypt agent can obtain and install HTTPS/TLS/SSL certificates.  By
default, it will attempt to use a webserver both for obtaining and installing
the cert. Major SUBCOMMANDS are:

  (default) run        Obtain & install a cert in your current webserver
  certonly             Obtain cert, but do not install it (aka "auth")
  install              Install a previously obtained cert in a server
  revoke               Revoke a previously obtained certificate
  rollback             Rollback server configuration changes made during install
  config_changes       Show changes made to server config during installation
  plugins              Display information about installed plugins

Choice of server plugins for obtaining and installing cert:

  --apache          Use the Apache plugin for authentication & installation
  --standalone      Run a standalone webserver for authentication
  (nginx support is experimental, buggy, and not installed by default)
  --webroot         Place files in a server's webroot folder for authentication

OR use different plugins to obtain (authenticate) the cert and then install it:

  --authenticator standalone --installer apache

More detailed help:

  -h, --help [topic]    print this message, or detailed help on a topic;
                        the available topics are:

   all, automation, paths, security, testing, or any of the subcommands or
   plugins (certonly, install, nginx, apache, standalone, webroot, etc)

証明書を作る際に、letsencryptが80番を利用するので、nginxを一時的に落とす

1
sudo service nginx stop

下記コマンドを実行して証明書を作成する。

1
./letsencrypt-auto certonly --standalone -d webapp.glidenote.com

キー紛失時の復元用のメールアドレスを入力

規約の同意画面

完了すると下記のようにメッセージが表示される。証明書の期限は90日。

1
2
3
4
5
6
7
8
9
10
11
12
13
14
15
16
IMPORTANT NOTES:
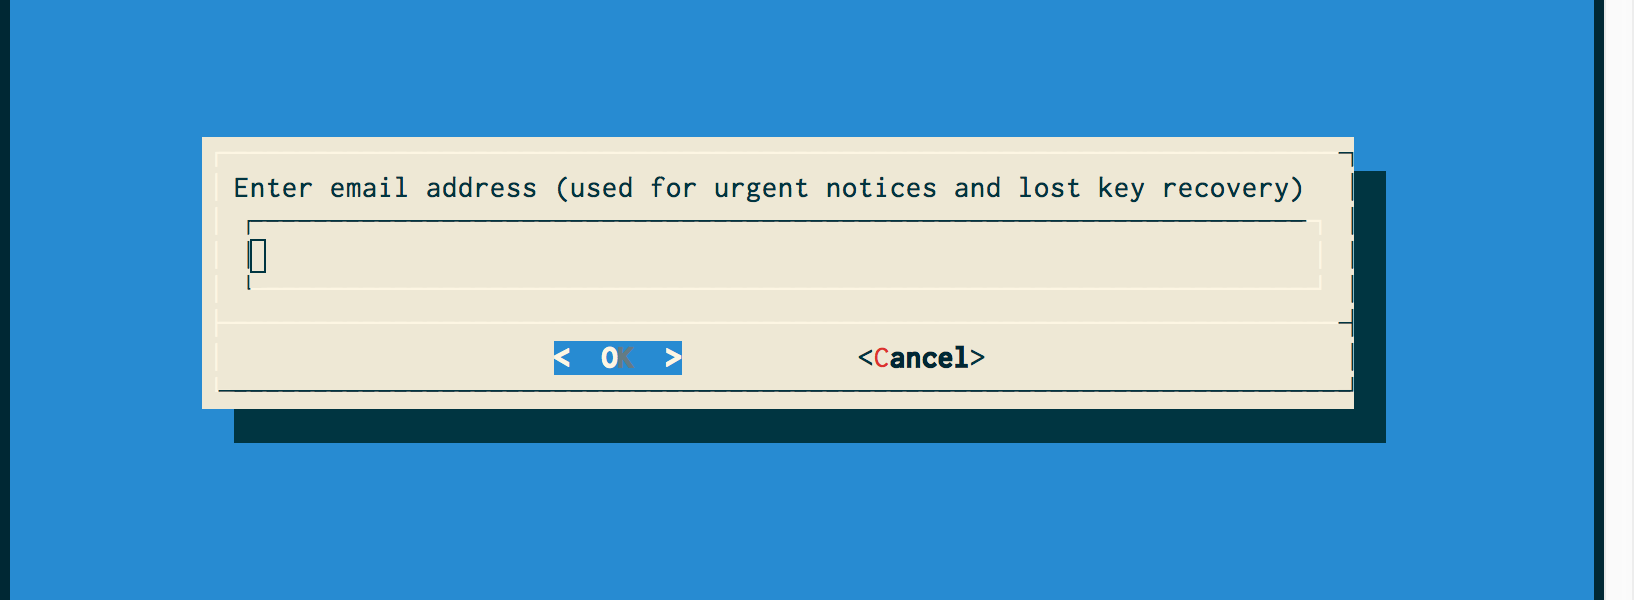
 - If you lose your account credentials, you can recover through
   e-mails sent to xxxxxx@xxxxxxxxxxxxxxxx.
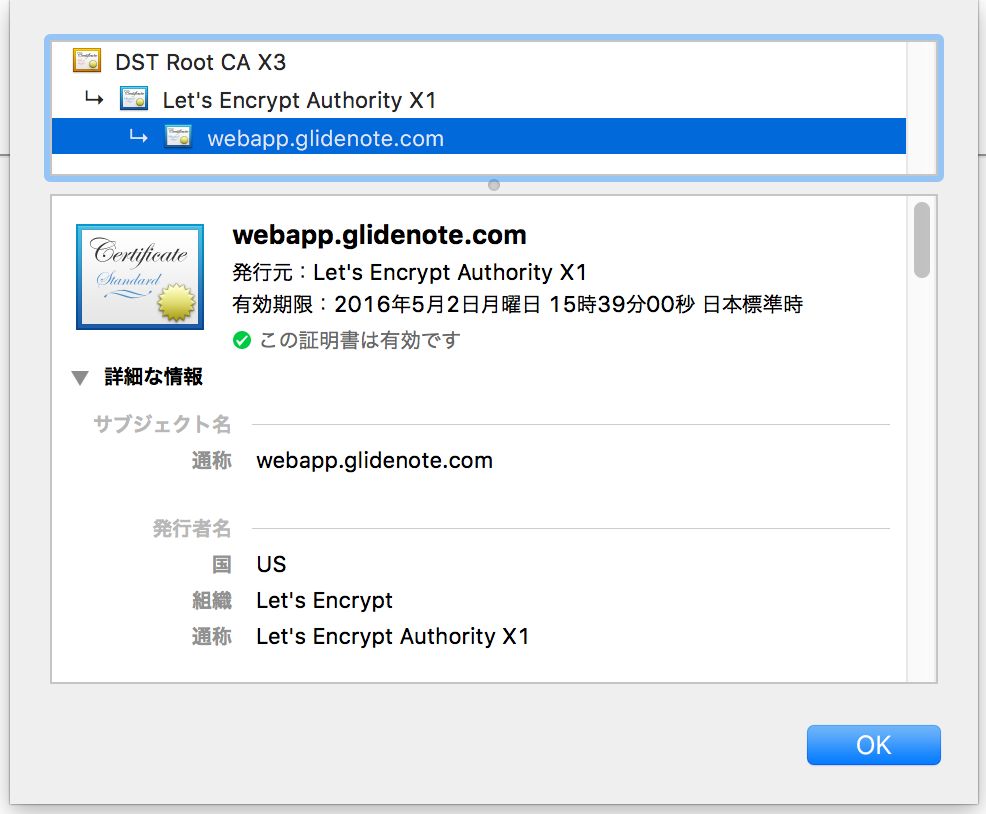
 - Congratulations! Your certificate and chain have been saved at
   /etc/letsencrypt/live/webapp.glidenote.com/fullchain.pem. Your cert
   will expire on 2016-05-02. To obtain a new version of the
   certificate in the future, simply run Let's Encrypt again.
 - Your account credentials have been saved in your Let's Encrypt
   configuration directory at /etc/letsencrypt. You should make a
   secure backup of this folder now. This configuration directory will
   also contain certificates and private keys obtained by Let's
   Encrypt so making regular backups of this folder is ideal.
 - If you like Let's Encrypt, please consider supporting our work by:

   Donating to ISRG / Let's Encrypt:   https://letsencrypt.org/donate
   Donating to EFF:                    https://eff.org/donate-le

下記のような感じでファイルが出来上がる。

1
2
3
4
/etc/letsencrypt/live/webapp.glidenote.com/fullchain.pem
/etc/letsencrypt/live/webapp.glidenote.com/cert.pem
/etc/letsencrypt/live/webapp.glidenote.com/chain.pem
/etc/letsencrypt/live/webapp.glidenote.com/privkey.pem

nginxで利用するのは fullchain.pemprivkey.pem なので、nginxのconfを修正。

1
2
3
4
5
6
7
8
9
10
11
12
13
14
server {
  listen 443 ssl http2;

  server_name         webapp.glidenote.com;

  ssl_certificate     /etc/letsencrypt/live/webapp.glidenote.com/fullchain.pem;
  ssl_certificate_key /etc/letsencrypt/live/webapp.glidenote.com/privkey.pem;

  ssl_ciphers ECDHE-RSA-AES128-GCM-SHA256:ECDHE-ECDSA-AES128-GCM-SHA256:ECDHE-RSA-AES256-GCM-SHA384:ECDHE-ECDSA-AES256-GCM-SHA384:DHE-RSA-AES128-GCM-SHA256:DHE-DSS-AES128-GCM-SHA256:kEDH+AESGCM:ECDHE-RSA-AES128-SHA256:ECDHE-ECDSA-AES128-SHA256:ECDHE-RSA-AES128-SHA:ECDHE-ECDSA-AES128-SHA:ECDHE-RSA-AES256-SHA384:ECDHE-ECDSA-AES256-SHA384:ECDHE-RSA-AES256-SHA:ECDHE-ECDSA-AES256-SHA:DHE-RSA-AES128-SHA256:DHE-RSA-AES128-SHA:DHE-DSS-AES128-SHA256:DHE-RSA-AES256-SHA256:DHE-DSS-AES256-SHA:DHE-RSA-AES256-SHA:ECDHE-RSA-DES-CBC3-SHA:ECDHE-ECDSA-DES-CBC3-SHA:AES128-GCM-SHA256:AES256-GCM-SHA384:AES128-SHA256:AES256-SHA256:AES128-SHA:AES256-SHA:AES:CAMELLIA:DES-CBC3-SHA:!aNULL:!eNULL:!EXPORT:!DES:!RC4:!MD5:!PSK:!aECDH:!EDH-DSS-DES-CBC3-SHA:!EDH-RSA-DES-CBC3-SHA:!KRB5-DES-CBC3-SHA;


~ snip ~~

}

nginxを起動させてみる。

1
2
sudo nginx -t
sudo service nginx start

ちゃんとエラーが出ない証明書が出来上がっている。

更新については公式ドキュメントにあるように、下記のようのあスクリプトを用意してcronで回しておけばOKの模様。(検証用途でしか利用していないので、更新作業はまだやってないです)

1
2
3
4
5
6
7
8
#!/bin/sh
service nginx stop  # or whatever your webserver is
if ! /path/to/letsencrypt-auto certonly -tvv --standalone --keep -d webapp.glidenote.com > /var/log/letsencrypt/renew.log 2>&1 ; then
    echo Automated renewal failed:
    cat /var/log/letsencrypt/renew.log
    exit 1
fi
service nginx start # or whatever your webserver is

参考

Comments